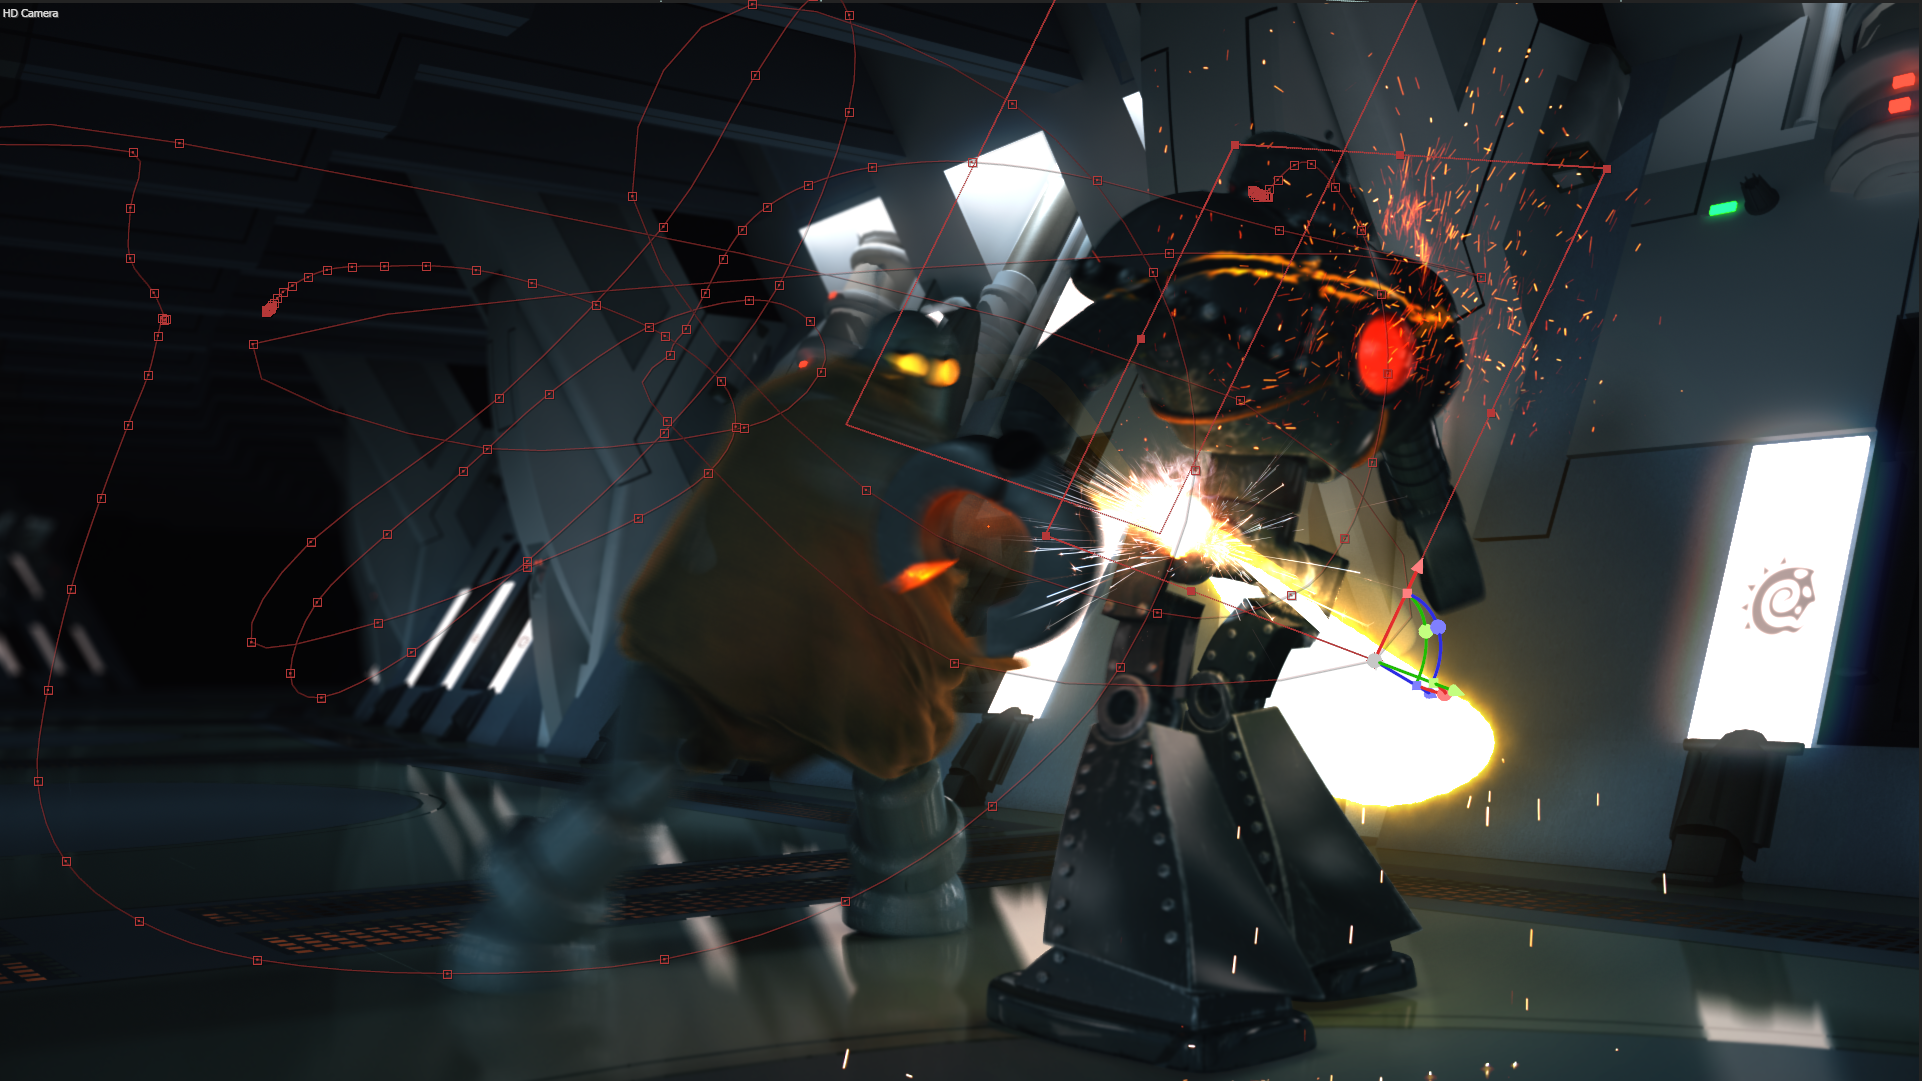
We speak to Dan Cox from Dynamo about the creation of his short, but oh so sweet, animation.
LightWave Digital: Can you tell us how you made your short Dynamo vs Deadline?
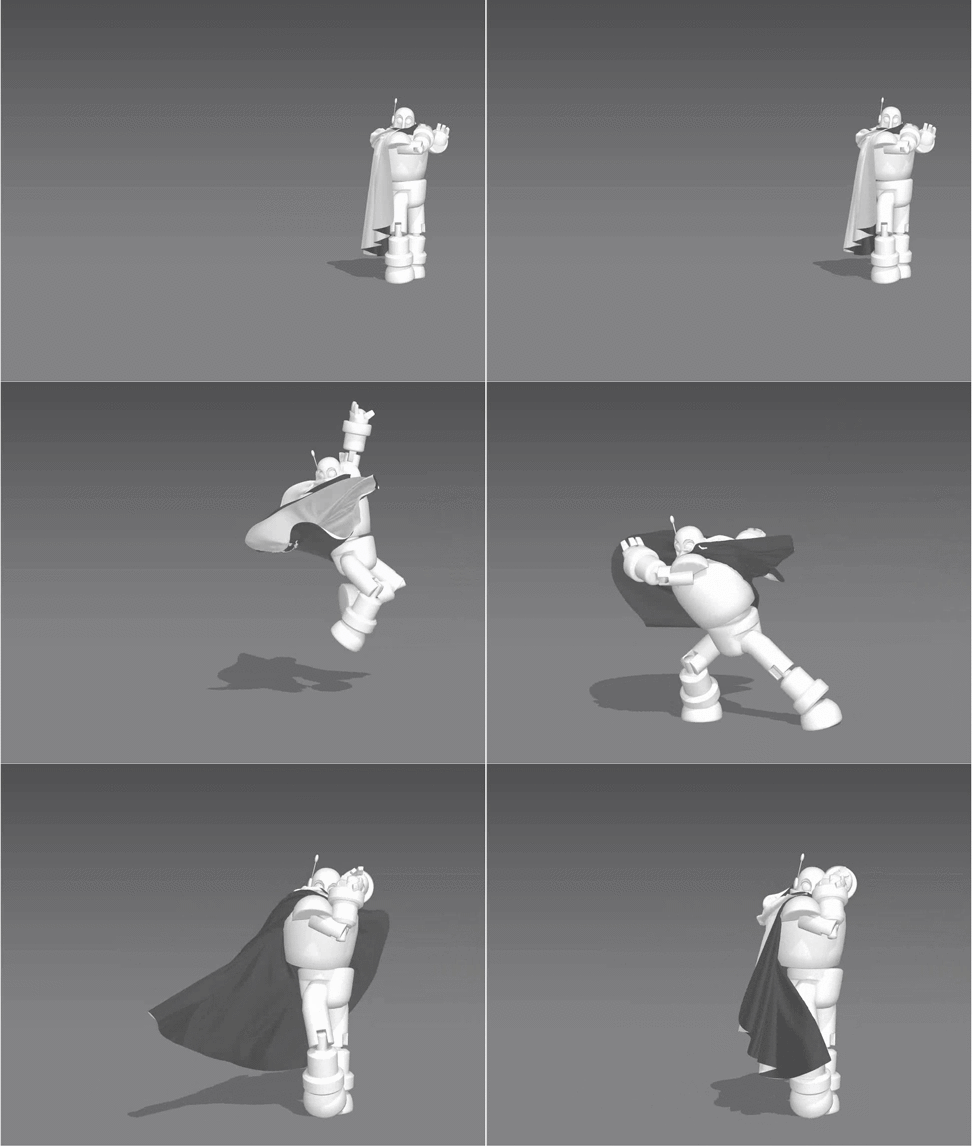
Dan Cox: Here's a brief breakdown of the trickier/unusual workarounds to the 3rd place entry in the May 4th competition. The short was modelled, rigged with Genoma then animated and rendered in LightWave 2015 native render. The animation for Deadline is motion capture, but Dynamo is all hand-animated. Cloth sim for Deadline in Marvelous Designer (MD) with Bullet for the hard-body dynamics and Chronosculpt for Bullet cleanup. Grading, effects and DOF in After Effects. It's a blink-and-you-miss-it effect, but I did take the time to create an animated texture (in AE) for the saber cut to mimic molten metal growing out from the cut. This was added to the colour and luminosity channels and was projected through a spotlight parented to Deadline's torso. Since the spotlight only projects in one direction, I also parented the light to a central null. I duplicated and rotated this setup three times around the model to ensure the cut was visible from all angles (shadows off and only affecting Deadline). I also needed a visible cut to line up with the aforementioned texture, but since you can't use a clip map projected through a spotlight I had to add a camera parented to one of the spotlights to project the animated cut. I then needed to add a baking camera to bake the colour, luminosity and clip map sequences to the model's UVmap since once he is sliced and starts to fall apart the texture projections become useless.
LD: Tell me about the light saber?
DC: The second challenge was getting the burning saber effect (AE plugin 'Saber' by Andrew Cramer) to track correctly. The LightWave model had a luminous tube for a saber as well as a linear light parented to it to give the correct light effects on the rest of the scene. Adding parented nulls to the base and the tip of the saber meant I could send these to After Effects using the 'Send to AE' feature (the camera also needed to be sent), but this creates baked 3D keyframes in AE. The AE saber plugin, on the other hand, is a 2D effect and requires screenspace coordinates. Luckily, there is a simple AE expression where you can convert 3D keyframes to 2D screenspace keyframes -
thisComp.layer("3D_layer").toComp([0,0,0])
Again, since this is a 2D effect, it had to be masked using a LightWave objectID pass to give the illusion of occlusion.
LD: How did you achieve the cloth animation?
DC: Once I had the mocap animation applied to Deadline, I sent an Alembic export to Marvellous Designer (MD). Cloth doesn't behave nicely with fast motion, so substeps in MD have to be turned right down to avoid penetrations. Pinning the hood to the back of the cloak and pinning the cloak to the robot around the neck and back also helped it fall into the right hero pose at the end (rather than wrapped around his face, which is what it wants to do!) I wish the animation could be longer, but I could only afford a short time on it.
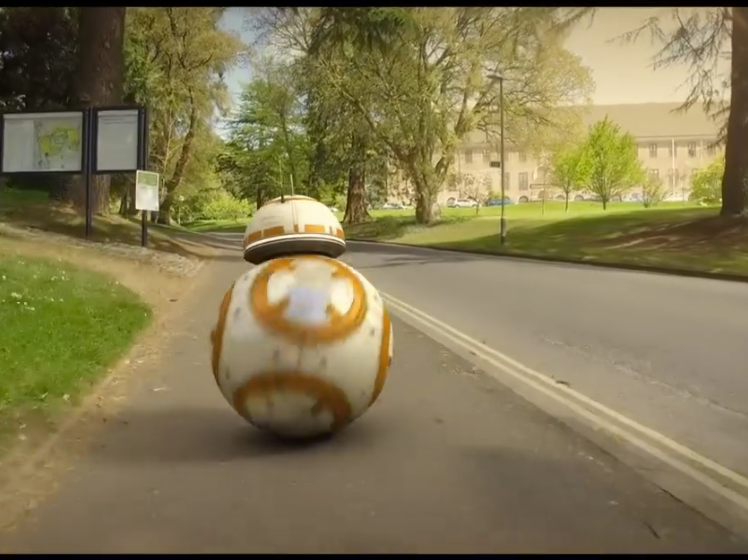
I also did a May the 4th animation for the University of Exeter a couple of years ago, so obviously I couldn't submit that, but here it is in case anyone is interested (you'll want sound on for full effect) https://www.facebook.com/share/v/6EWQA4oFe1oeyZxd/

