Layout Tab
- Modify
This tab will allow you to Move, Rotate, Size and Stretch scene objects, although you probably won't need to switch to it for that, since rolling the mouse wheel switches between those options. You will want to switch to this tab to use tools like Move and Rotate Pivot. You can get more detailed information on all these tools at:
- Motion Path Group
- Arrange Group
- Modify - General Group
- Modify - Tools Group
Motion Path Group
Move Path
Path Tool
(default keyboard shortcut Ctrl Y)
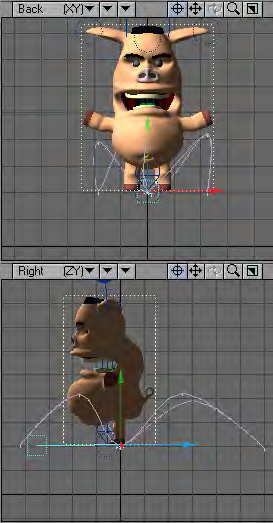
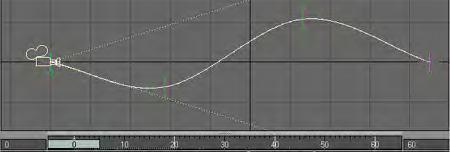
The Path Tool (Modify > Translate > Path Tool) will allow you to directly edit the current item’s motion path in a Layout viewport. To use, simply activate the Path tool and drag any of the current item’s keys. The perfect tool for tweaking an item’s motion path.
Green Handles on motion path represent each Keyframe.
The key will only move along the vertical and horizontal axes of the view, even in perspective.
Copy Motion
Copies the selected items motion path
Paste Motion
Replaces the motion path of an item with a copied one.
Arrange Group
Align and Distribute
Located on the Modify Tab > Arrange Group in Layout, these small but useful tools make aligning and spacing items equally in Layout easier. The Align tools work in much the same way as the Align to Last Point tools in Modeler, but for any Layout Scene items. To use them select the items you wish to align, then select the last item to which you want to align the other items. From the Align menu choose which axis (X/Y/Z) you wish to align against. Once clicked, all the items you selected will be aligned to the last item’s axis you picked.
To distribute, or equally space items, you don’t need to worry about the selection order, simply select the items you wish to equally space between each other, and choose the axis (X/Y/Z, or All Axis) you want to space the items along.
Modify - General Group
Coordinate System
The Coordinate System setting (Modify > General > Coord System) affects the Move, Rotate, and Move Pivot Point tools.
World (default keyboard shortcut Shift F5)
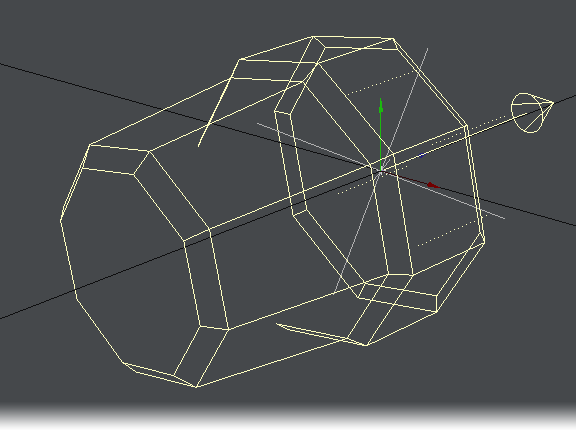
World allows easy movement based on the world axes, even for items deep within a hierarchy that contain rotated parents.
Parent (default keyboard shortcut Shift F6)
Parent is for movement based on the axes of an item’s parent(s). If an item has no parent then this setting is equivalent to World.
Local (default keyboard shortcut Shift F7)
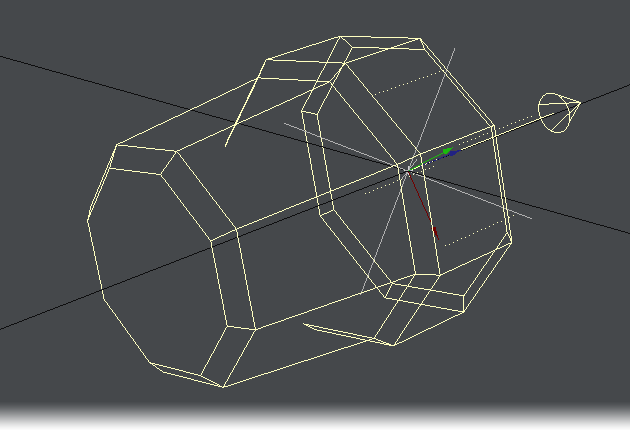
Local is for movement based on an item’s own axes (such as dollying a rotated camera along its view direction). For unrotated items it is equivalent to Parent. Local can be temporarily activated by holding Ctrl.
Example
Local
Parent
World
Note how with World, the handles line up with the lines on the grid. With Parent, the handles line up with the rotated (parented) null. Finally, with Local, the handles line up with the distant light’s rotation.
Avoiding Gimbal Lock
Gimbal lock normally occurs after you rotate an item 90 degrees on its pitch using the Parent coordinate system. Once this has occurred, rotating the object about either its heading or its bank axis gives you the same result-you have lost the ability to rotate about the object’s local heading. Gimbal lock is commonly a problem with bones in a hierarchy. By nature, bones have a starting position that is often rotated 90 degrees on their pitch, like bones in the arm of a human figure. You can avoid Gimbal lock by rotating using the Local coordinate system.
Reset
You can quickly reset position and rotation to their initial states by selecting the item, activating the channel you wish to reset (i.e., Move, Rotate, Size, and other tools), and then clicking Modify > Reset. You can reset individual channels without being in the mode by hitting Reset Position, Reset Rotation or Reset Scale and all channels with Reset All.
Reset is not an undo feature, although it can sometimes work similarly. Resetting restores the state for the selected channels to what it was when the item was first loaded or created.
Modify - Tools Group
IK Boost
(default keyboard shortcut Ctrl-B)
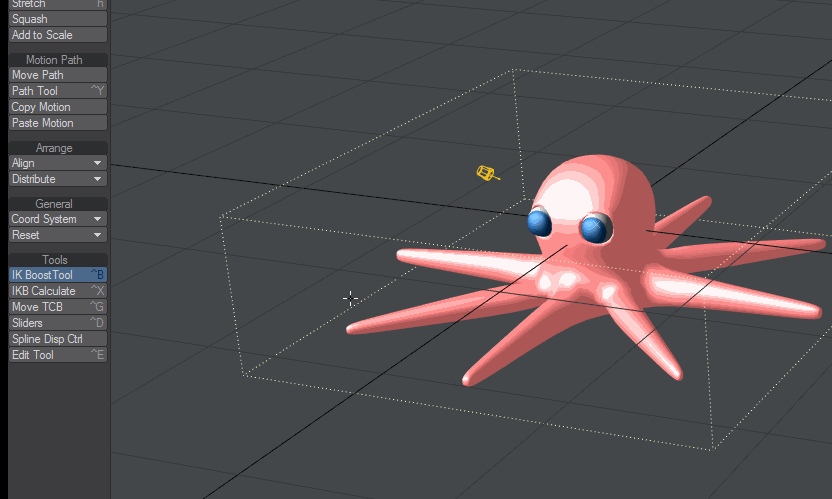
IK Booster (Modify > IK Boost Tool) is an animation system that can work independently from LightWave’s base Inverse Kinematics or it can be used with LightWave’s base IK. With IK Booster applied to an object you can gain access to Bone Dynamics and IK Booster character tools.
Applying IK Booster
You can also add IK Booster to an object using the IK Boost tool (Modify > IK Boost Tool).
Select the IK Boost tool and Right-Click on the object pivot point to bring up the option to Apply IK Booster.
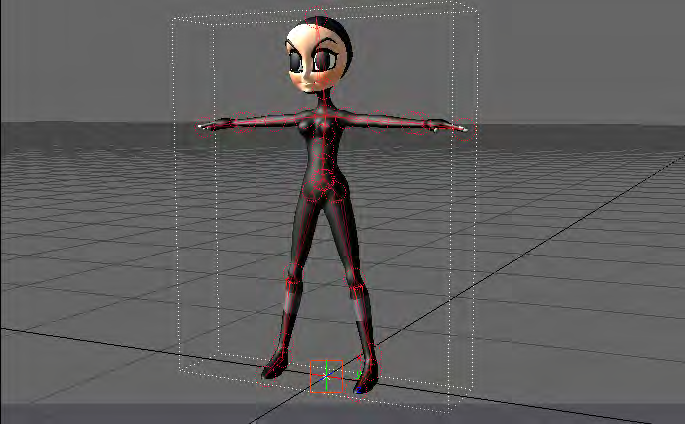
When IK Booster has been applied to an object all the bones in the object and all of the object’s children will be set up with IK. Although IK Booster is ideal for character rigs, it can be a powerful tool for mechanical rigs as well.
Steps for applying IK Booster:
Modes
KeyFrame Mode
IK Booster has several keyframe modes you can choose from the Keyframe Mode drop down menu. If the DopeTrack is active, the Keyframe Mode button will be located on the left side of the track.
If the DopeTrack in not active, the Keyframe Mode selection will be located on the left side of the IK Booster track. The IK Booster Track is located at the bottom of the viewport windows.
KeyFrame Modes
- All Item - When this mode is selected, if you create a key on an item, it creates a key for that item and the entire hierarchy.
- Parent - With Parent mode, if you create a key on an item, it creates a key for that item and every parent up that item’s chain.
- Child - In Child mode, if you create a key on an item, it creates a key on that item and all of its children.
- Parent + Child - In this mode, if you create a key on an item, it creates a key for that item and every parent up that item’s chain, and every child down the chain.
- Current Item - With Current Item mode, if you create a key on an item, it only creates the key on that item.
IKB Menu
IKB Menu Options
Bone Dynamics
This option enables and disables all bone dynamic functions for the object that IK Booster has been applied to.


