Global fxIK
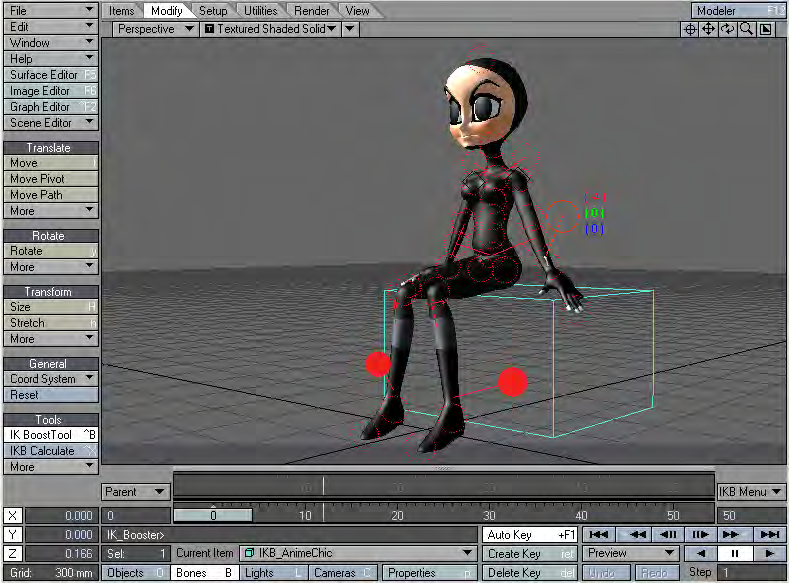
IK Booster provides a global IK on/off switch. When this option is active all hierarchies in the object will be solved with IK. When this option is not active only the current hierarchy will be solved with IK.
IK bind
IK Booster has the option to “fix” an item, which locks the position of the item’s controller. When IK Bind is active all fixed items will stay fixed. When it is not active, items that are fixed will ignore their “fix” setting and will no longer be locked to their position.
Commands
Reset Rotation - This command will set the rotational values of the item(s) back to their original value.
re-BakeSpot-all - Any Bake Spot in the scene will be re-baked when this command is selected.
Motions
- IK Booster has several motion options to help speed up animating and increase productivity.
- Motion Copy - This function will copy the object’s entire motion to the clipboard.
- Motion Rollback - This function will paste the last motion that was copied to the clipboard. This will remove any work that you have done since the time of copying the motion.
- Motion Save - This function will save the entire motion data of the IK Booster object to a text file. This gives you the ability to re-use motions from your object on objects that share the same setup.
- Motion Load - This function will load an IK Booster motion data file that was previously saved using the Motion Save command.
Options
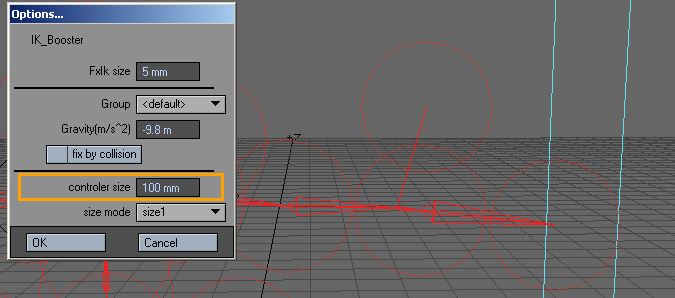
- FxIk size - This setting determines the accuracy of the IK solving. The higher the number the less accurate the IK solving will be.
- Group - you can group Dynamic objects with a user-defined name to prevent unwanted interaction. This also works with Particle FX controllers. This becomes very handy when you are working on a complex scene and you want certain Wind emitters to only affect certain objects.
- <default> Includes all groups.
- <new group> Creates individual group. Can associate functions within a group.
- Gravity - Setting for downward (-y) gravity. This option only applies to objects that have Bone Dynamics active.
- Fix by Collision - This function will fix items that pass through a collision object. This option only applies to objects that have Bone Dynamics active.
- Controller Size - Use this setting to change the size of the controller when it is unselected.
- Size Mode - This setting determines the size of the controller when it is selected.
- Size 1 - Smallest selected size.
- Size 2 - Medium selected size.
- Size 3 - Largest selected size.
- Not Change - The selected controller size will be based on Controller Size. The controller size when selected and unselected will be the same.
IK Booster and the Dope Track
Right Click Menu
Right clicking on the dope track will bring up a menu with several functions described below.
- Copy key from current - This function will copy a keyframe from the current frame (the frame the time slider is at), and paste the keyframe on the frame you right clicked on.
- Make Key - This function will create a keyframe at the frame you have right clicked on. If you would like to create keyframes for a range of frames, use the Bake Keys function in the Right Click and Drag Menu.
- Delete Key - This function will delete the Keyframe at the frame you have right clicked on. If you would like to delete a range of frames, use the Delete Keys function in the Right Click and Drag Menu.
- Save Pose - This function will save an external file that contains the keyframe data of the IK Booster object for the frame you right clicked on.
- Load Pose - This function will load a previously saved Pose file on the frame you right clicked on.
Right Click and Drag Menu
Apply Keys
Apply keys is for making overall changes to densely keyframed animation. An example would be for correcting or making changes to an existing animation such as motion capture. All three "applies" use the first and last keyframe in a range as boundaries, and the keyframe that the slider is currently sitting on (Current Frame) as a control point.
Record Motion
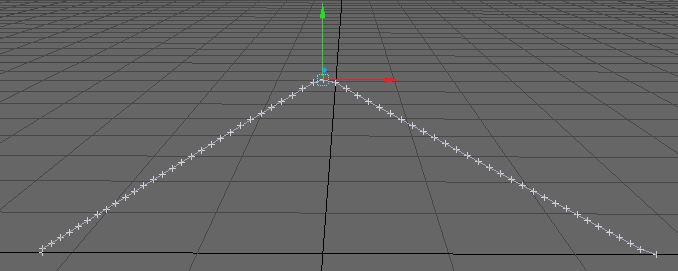
This function will record the motion of the selected controller at fixed distance intervals.
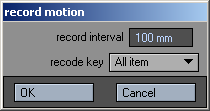
Right Click and drag to select the time range, select Record Motion, and set the options in the Record Motion Panel.
- Record Interval - The set distance for each keyframe.
- Record Key - Determines what items motion will be recorded using the various Keyframe Modes.
Bakespots have a right click drop down menu that gives you the following options:
- Bake Keys - This function will create keyframes for the selected bakespot.
- Re-bake-All - Any Bake Spot that has been baked in the scene will be re-baked when this command is selected.
- Remove Bakespot - Clears the bakespot from the track.
Dynamics Effect
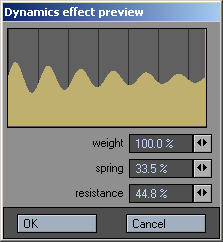
The graph in the preview, displays the motion that will be applied to the controller.The line in the background represents one second intervals. This graph gives you a visual representation of the motion that will be applied.
- Weight - Defines the weight of the controller. You can achieve heavy motions by increasing the Weight value, and you can create light motions by decreasing Weight.
- Spring - Controls the springiness or stiffness of the controller. Reducing the Spring coefficient creates soft motions, while raising the Spring coefficient produces motions with a stronger repelling force. Setting the coefficient to an extremely large value creates stiff motions.
- Resistance - Controls the amount of air resistance.
Once applied a keyframe will be placed on every frame in the selected time range.
Bind Motion
This function will bake keyframes for the entire time range based on the keyframe of the first frame in the range.
IK Booster Track
If the DopeTrack is not active while in IK Booster mode, the IK Booster Track becomes functional. The Keyframe Mode and IKB Menu buttons appear on the track as discussed earlier and all operations for IK Booster that were available on the Dope Track are available for the IK Booster Track.
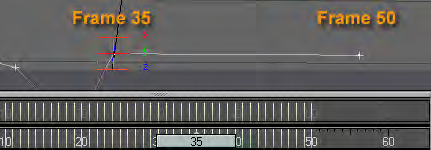
Keyframe Origin - This marker shows the original location of the keyframes before any movement has taken place.
Keyframe Move Location - This marker shows where the Keyframe Origin is being moved to.
The Time Range will be shaded to display what area of time is being affected.
IK Booster Viewport Controllers
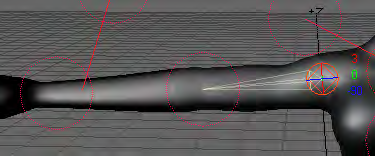
Left clicking and dragging on the controller will allow you to move and rotate the controller freely. You can also left click and drag on individual channels to constrain the movement of the controller.
Rotate Mode:
- Red - Heading Channel
- Green - Pitch Channel
- Blue - Bank Channel
Move Mode:
- Red - X Channel
- Green - Y Channel
- Blue - Z Channel
Controller Right Click Menu
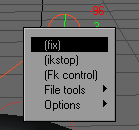
- Fix - This function will lock a controller in place. The controller will be displayed as a solid circle to indicate that it is fixed.
- IK Stop - This function will make the selected controller the new base of the IK chain, and only controllers farther down the chain are affected by any IK operation.The controller will display a diamond shape to indicate that IK Stop is active.
A good example of using IK Stop is wagging the tail of a dog. Imagine a string of bones inside a solid dog object, extending down its tail. You want the tail to follow the dog as it moves about, but you do not want the dog’s body to wag as the tailbones are animated. You activate IK Stop for the bone at the base of the tail to accomplish this.
This function is similar to Unaffected by IK of Descendants.
- FK Control - This function will change the controller from Inverse Kinematics to Forward Kinematics (FK). Forward kinematics is the standard type of motion generated in LightWave when you rotate/move any parents in a chain. The position of the last controller in the chain is determined indirectly by the combination of all positions of any parent controller up (i.e., forward) through the chain. (For instance when you move your upper arm, your forearm and hand also move with it.)
- File Tools - The options listed below are file management tools for a controller.
- Pose Save - This function will save an external file that contains the position of the selected controller for the frame you are currently on.
- Pose Load - This function will load a previously saved Controller Pose file at the frame you right clicked on.
- Motion Save - This function will save the entire motion data for the selected controller to a text file. This gives you the ability to re-use motions from the selected controller.
- Motion Load - This function will load a controller’s motion data file that was previously saved using the Motion Save command.


