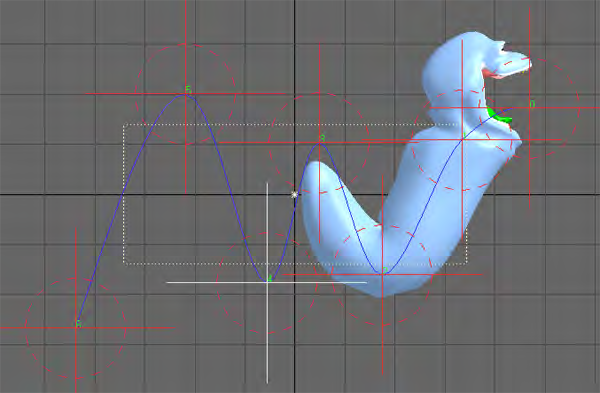
- Use Object CPs - Uses nulls with the names given in Object Name Prefix placed in scene as control points for the spline displacement
- Object Name Prefix - Prefix for naming nulls for spline displacement
- Object Axis - Defines the axis the control spline will be drawn on.
- Auto Key Create - Similar to Layout’s standard Auto Key in that it will automatically create a keyframe as you move a control point. The only difference is that it will always create when on frame zero regardless of whether or not this option is active.
- Create Key - When Auto Key Create is not active use this to create a keyframe.
- Set Rest Shape - Use this to change the default rest position of the control points in relationship to the object.
- Reset - This function works like undo, however instead of just undoing the last move it will reset all control points to their rest position.
- Allow Stretch - When this option is activated the object is able to be stretched past its original scale.
- Scale by Weight Map - This option will use the Weight Map selected and only deform that area of the mesh.
Edit Tool
(default keyboard shortcut Ctrl E)
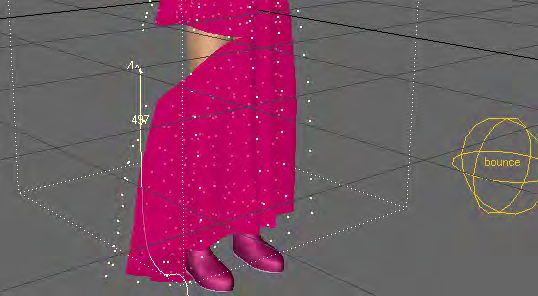
The Edit tool (Modify > Tools > Edit Tool) activates the ability to edit points on dynamic objects and particles. You will be able to visually see that you’re in Edit Mode in the viewport. All the points that make up the object will become highlighted and all the Edit tool functions will become active.


